Implementing Authentication and Authorization in Symfony 6: Secure Your REST API with the Security Component
Learn how to add robust security to your Symfony 6 REST API by implementing authentication, authorization, and route protection using Symfony’s Security component.


Until now, the routes we created were available without access restrictions. Indeed, if our api was deployed, anyone could have requested it, which can be a problem especially for sensitive requests such as creation, update or deletion.
To correct this problem, we will implement an authentication system via api tokens. A user who is already authenticated will only have to fill in his personal token to use the api without restriction. To do this, we will use the security-bundle of Symfony which integrates a lot of tools to manage the connection, authentication and security in general.
Overview of the security component
First, like any other package, we will have to install it.
composer require symfony/security-bundle
In addition to installing the various libraries needed, this command also creates a new security.yaml configuration file in the /config/packages folder.
As the name suggests, this file is used to configure the security of our api:
- the way passwords are hashed
- firewalls
- the access controls
It is this file that we will modify later to create our own security system.
This security system is based on a particular class: User which does not exist yet. This class will allow a user to connect, to access protected resources, ...
It is precisely this class that we will create.
Creating the User class
You might be tempted to use the make:entity command to create the User class. However, as we mentioned, the User class is a bit special and requires a different command. Instead, we will use the following command.
php bin/console make:user
This command allows us to create the User class but also to execute all the related tasks.
You will be asked a series of questions afterwards. You will have to answer this:
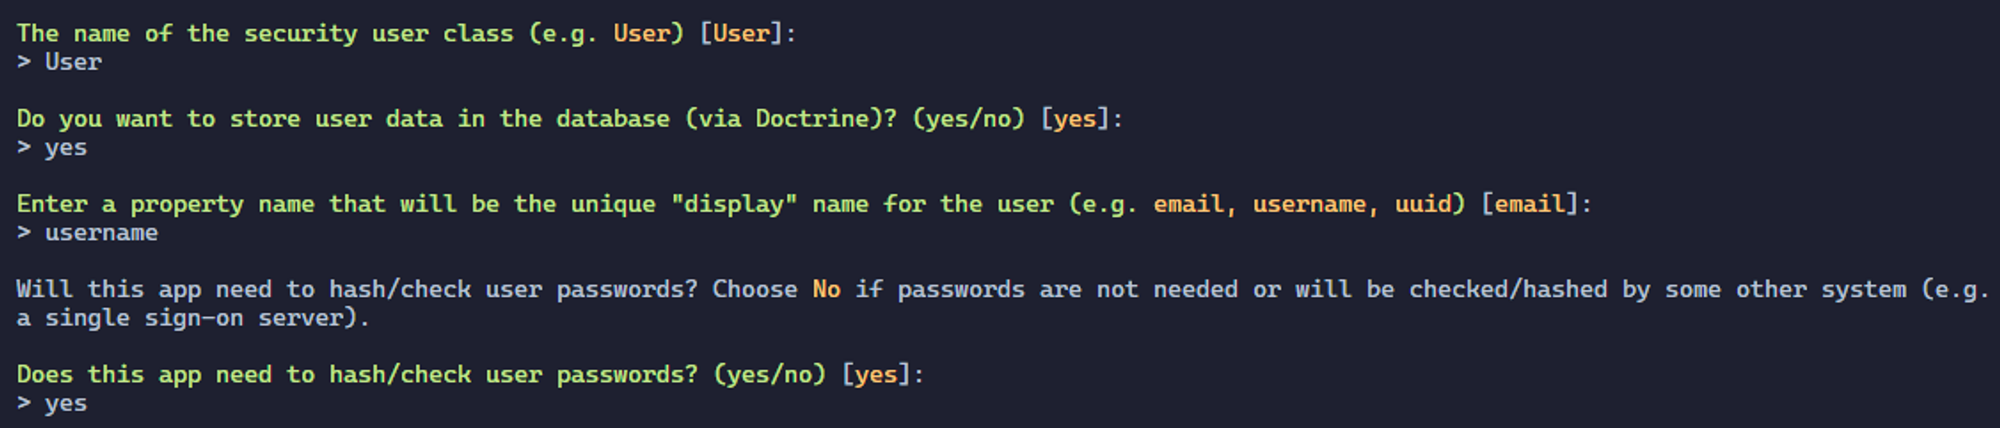
This command should have created a new entity: User in which the fields id, username, roles and password are located. To make this entity fit our needs, we will have to modify it.
To do this, we will use the following command.
php bin/console make:entity User
Next, we will add the new token field. This field will be of type string, will contain 36 characters and will not be nullable.
You should have something like this.
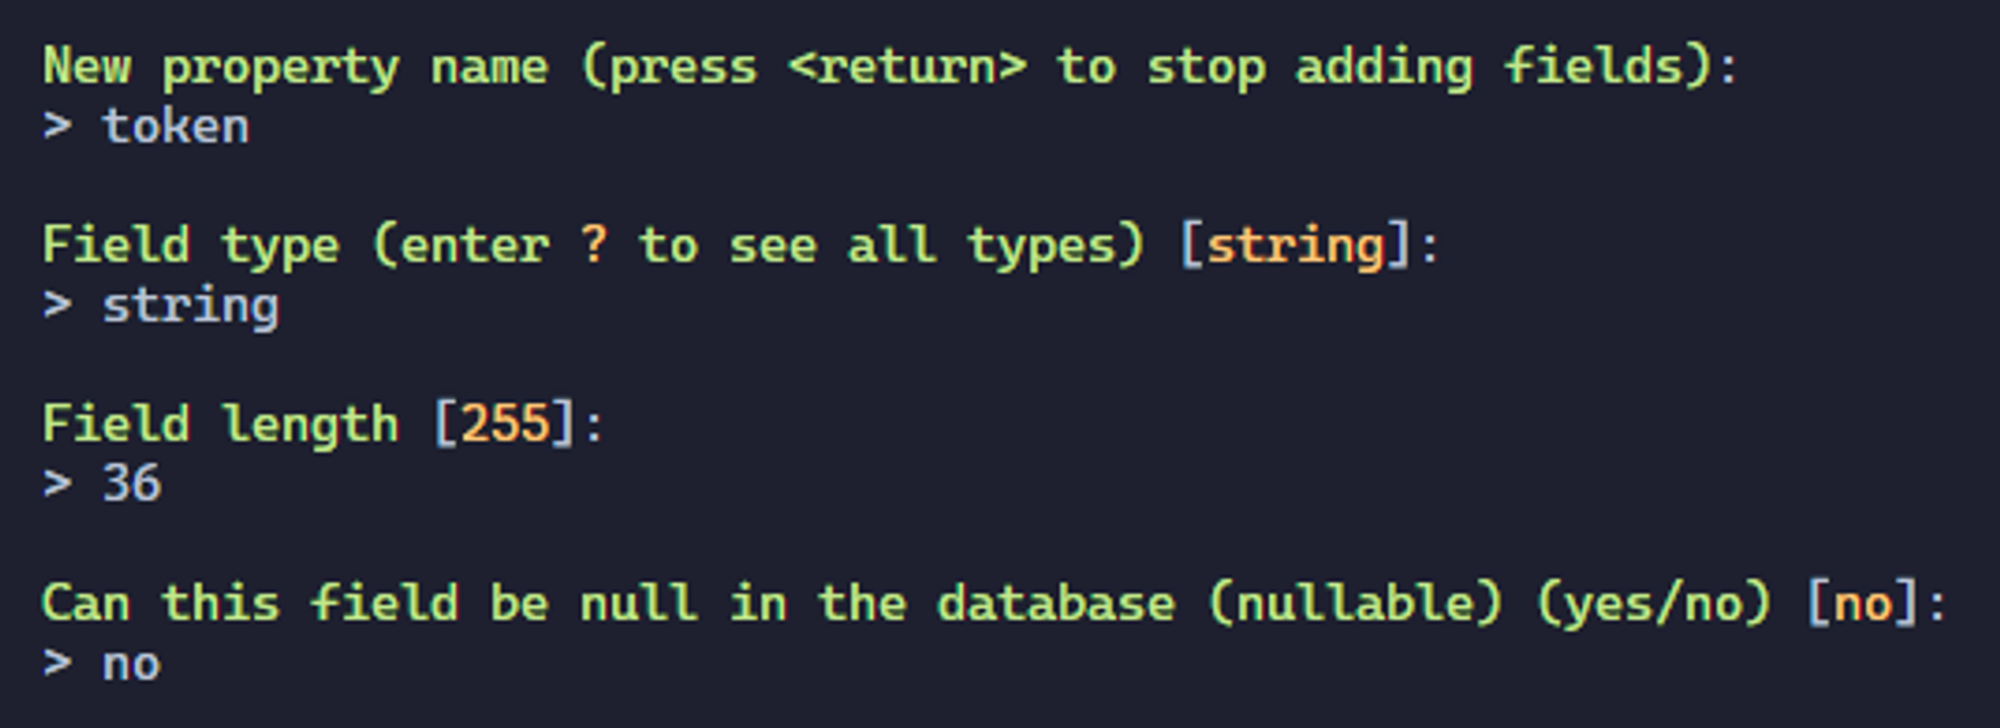
The new token field should have been added to our entity. Now we just need to create this new table in the database. As for the previous migrations, we will use the same command.
php bin/console make:migration
Then we will execute it.
php bin/console doctrine:migration:migrate
Or simply
php bin/console d:m:m
Creating the Factory
As with the Todo entity, we will create a Factory in order to facilitate the creation of fake data.
To do this, we will use the following command.
php bin/console make:factory
After filling in the User entity number, a new factory should appear in the src/Factory folder.
In the getDefaults method, we will fill in the following content.
protected function getDefaults(): array
{
  return [
    'password' => "password",
    'token' => bin2hex(random_bytes(18)),
    'username' => self::faker()->userName(),
  ];
}
src/Factory/UserFactory.php
The password we enter here is not the password that will be stored in the database. Indeed, we will have to hash it. To do this, we will use the initialize method. In this method, we will fill in the following content.
protected function initialize(): self
{
  return $this
    ->afterInstantiate(function (User $user) {
      $user->setPassword($this->passwordHasher->hashPassword($user, $user->getPassword()));
    })
  ;
}
src/Factory/UserFactory.php
However, in order for this to work, we will have to inject the service allowing us to hash passwords. So we will create a constructor for this class and fill in the following content.
use Symfony\Component\PasswordHasher\Hasher\UserPasswordHasherInterface;

public function __construct(private UserPasswordHasherInterface $passwordHasher)
{
  parent::__construct();
}
src/Factory/UserFactory.php
To make things easier, we use the PHP 8 syntax here.
In this way, for each user we create, the User object will first be created with a temporary password password which we then secure.
Creating the Fixture
Now we just have to create a fixture to dynamically create dummy users. To do this, we will first create a fixture with the following command.
php bin/console make:fixture UserFixtures
Then, in the src/Fixtures/UserFixtures.php file that has just been created, we will modify the load method.
use App\Factory\UserFactory;

public function load(ObjectManager $manager): void
{
  UserFactory::createOne();
}
src/DataFixtures/UserFixtures.php
For this example, we will create only one user. This will be enough to test our api.
Finally, we just have to launch our new fixture with the following command.
php bin/console doctrine:fixtures:load --group=UserFixtures --append
Or simply
php bin/console d:f:l --group=UserFixtures --append
This command allows to launch only the UserFixtures fixture thanks to the --group parameter. The --append parameter allows not to reset the database before launching the fixture. Indeed, by default, as soon as the doctrine:fixtures:load command is executed, the database is purged.
If we take a look at our database, we should see our user.
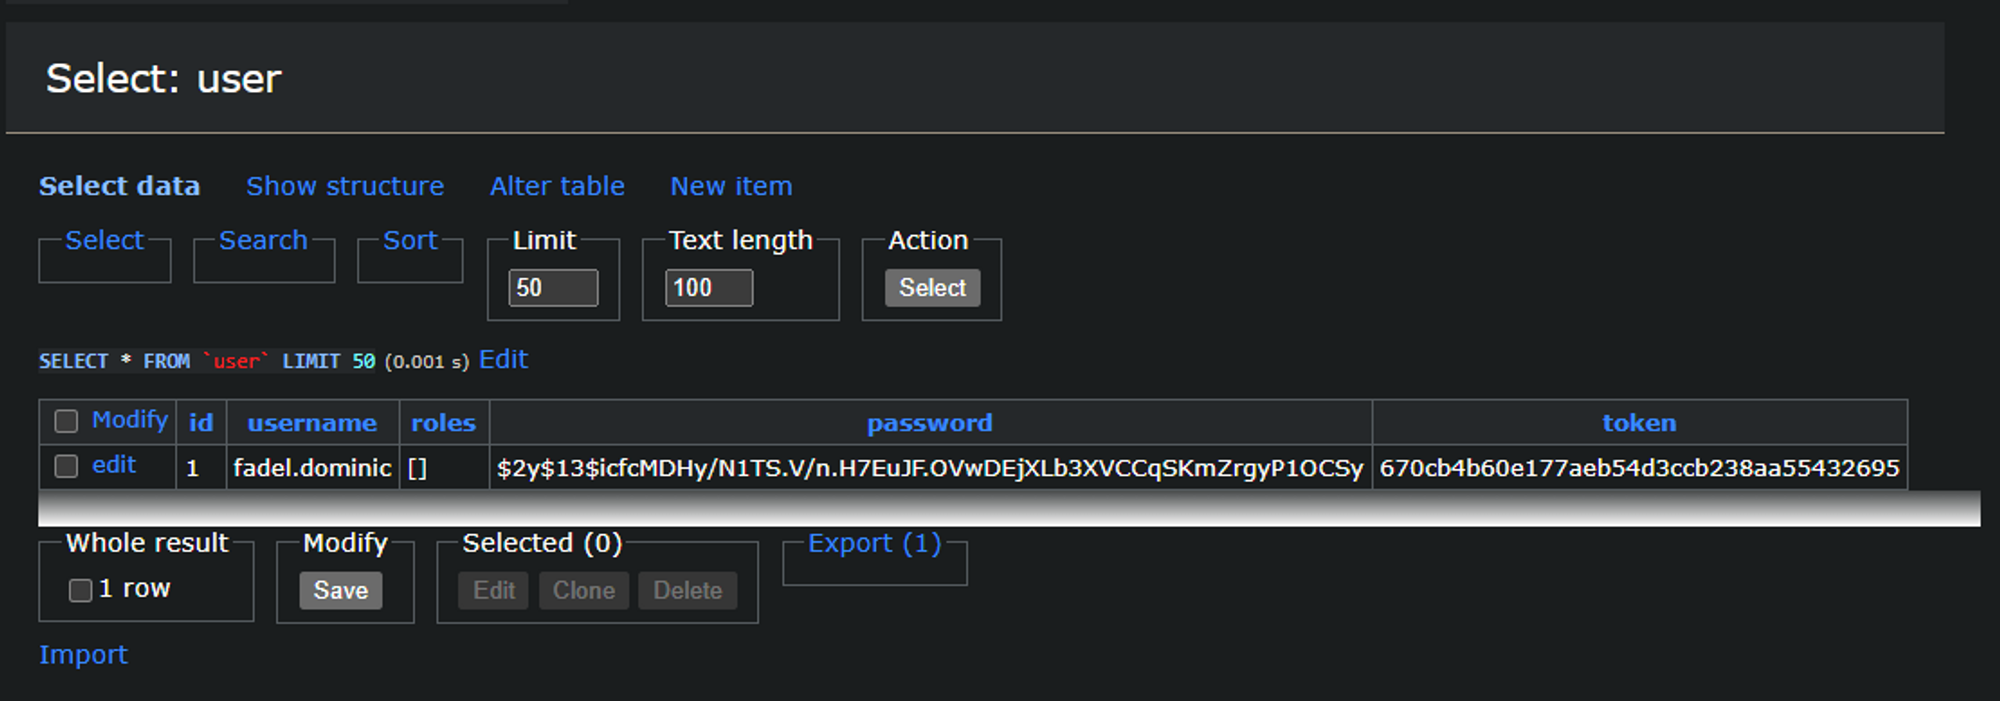
Perfect.
Creating an authenticator
An authenticator with Symfony is a class that will be called to authenticate the user in a certain context. This class will check the user's credentials and, if necessary, authenticate him.
There are already several authenticator preconfigured by Symfony but in our case, we will have to develop it ourselves.
Let's start by creating a new file called TokenAuthenticator.php in the src/Security directory (which doesn't exist yet).
In this file, we will add the following content.
namespace App\Security;

use Symfony\Component\Security\Http\Authenticator\AbstractAuthenticator;

class TokenAuthenticator extends AbstractAuthenticator
{
  // ...
}
src/Security/TokenAuthenticator.php
If you use a modern code editor, you should see the line class TokenAuthenticator extends AbstractAuthenticator underlined in red like this.
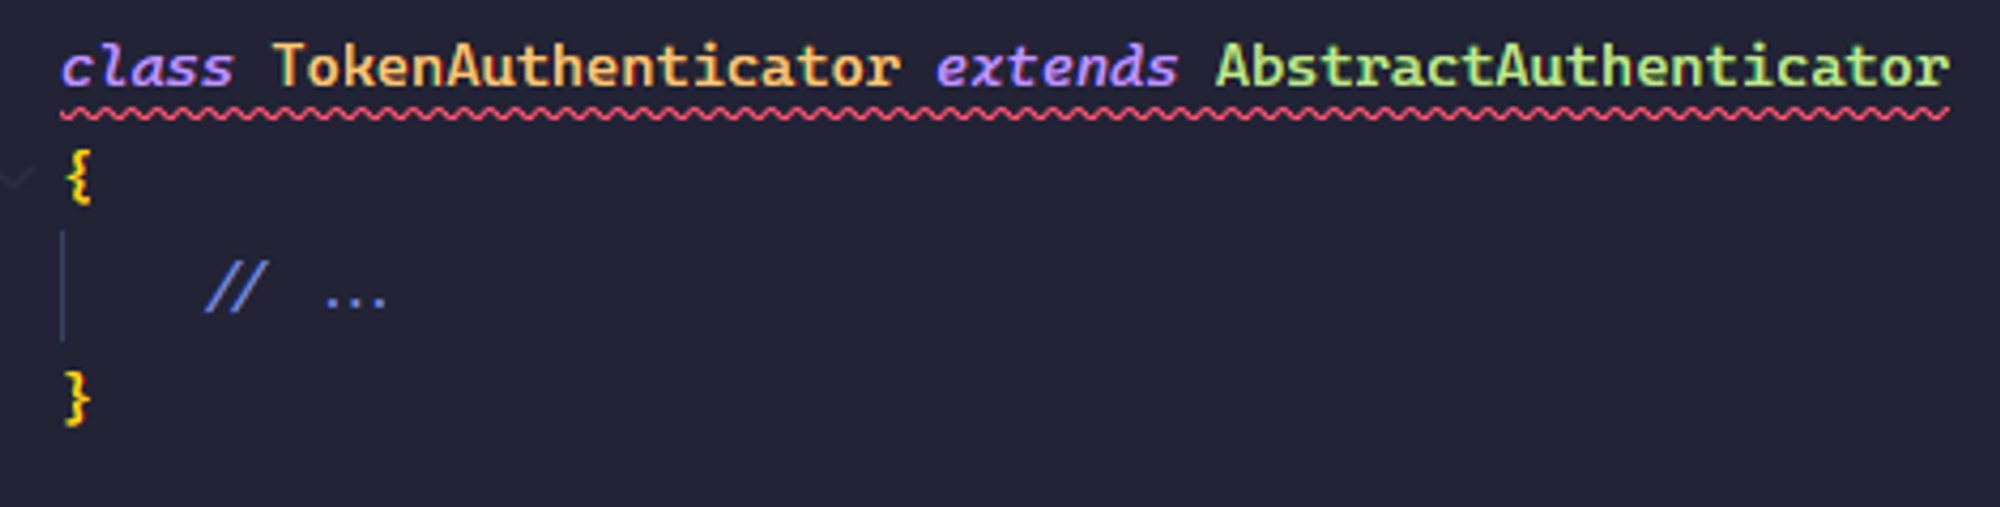
As stated in the error description, this error is simply because some methods are not yet implemented.
'App\Security\TokenAuthenticator' does not implement methods 'supports', 'authenticate', 'onAuthenticationSuccess', 'onAuthenticationFailure'
More precisely the :
supportswhich is used to fill in the conditions that must be met for the request to be accepted by theauthenticator.authenticatewhich is used to authenticate the user.onAuthenticationSuccesswhich is used to fill in the steps to follow after successful authentication.onAuthenticationFailurewhich is used to fill in the steps to follow after authentication failure.
We will have to add each of these methods to make our authenticator work.
Let's start with the supports method. As mentioned, this method must return a boolean to indicate whether or not the request can be handled by our authenticator.
In our case, we just need the request to contain the X-AUTH-TOKEN header.
X-AUTH-TOKEN header instead of an Authorization header with a bearer token because depending on the system, the latter is not transmitted to the PHP program. This is notably the case of Apache which does not relay this header to the PHP program. As a precaution, we will use here the X-AUTH-TOKEN header which will work in all cases.use Symfony\Component\HttpFoundation\Request;
public function supports(Request $request): ?bool
{
return $request->headers->has("X-AUTH-TOKEN");
}
src/Security/TokenAuthenticator.php
Concerning the authenticate method, we will use the following code.
use Symfony\Component\Security\Http\Authenticator\Passport\Passport;
use Symfony\Component\Security\Core\Exception\CustomUserMessageAuthenticationException;
use Symfony\Component\Security\Http\Authenticator\Passport\SelfValidatingPassport;

public function authenticate(Request $request): Passport
{
  $token = $request->headers->get('X-AUTH-TOKEN');
  if (null === $token) {
    throw new CustomUserMessageAuthenticationException('No API token provided');
  }

  return new SelfValidatingPassport(new UserBadge($token));
}
src/Security/TokenAuthenticator.php
We will first retrieve the authentication token from the request in order to use it in the auto-validated passport.
SelfValidatingPassport class because no password is needed. As soon as the authentication token is filled in, the process is valid.Then, for the onAuthenticationSuccess method, we will simply return null because no additional process is needed.
use Symfony\Component\Security\Core\Authentication\Token\TokenInterface;
use Symfony\Component\HttpFoundation\Response;

public function onAuthenticationSuccess(Request $request, TokenInterface $token, string $firewallName): ?Response
{
  return null;
}
src/Security/TokenAuthenticator.php
Finally, for the onAuthenticationFailure method, we will follow the same logic. We will simply return null.
use Symfony\Component\Security\Core\Exception\AuthenticationException;

public function onAuthenticationFailure(Request $request, AuthenticationException $exception): ?Response
{
  throw new AuthenticationException($exception->getMessage());
}
src/Security/TokenAuthenticator.php
That's all we need to do for authentication. Well, almost. Indeed, we will have to modify the /config/packages/security.yaml file in order to take into account our authenticator.
First, we will modify the property key of the app_user_provider. We will put the value token in it. This value corresponds to the token field of the User entity we created earlier. This modification allows us to indicate that this token field must be used to authenticate a user.
Finally, we will modify the firewalls part in order to use our authenticator.
To do this, we will modify the main key and add the following lines:
main:
  stateless: true
  provider: app_user_provider
  custom_authenticators:
    - App\Security\TokenAuthenticator
config/packages/security.yaml
The stateless field allows to say that each request must be managed independently from the others. The provider field allows you to specify the provider you want to use, which will then be injected into our authenticator. Finally, the custom_authenticators field allows to list the authenticators to use. In our case, we will only put our custom authenticator.
That's it.
Unfortunately, our system at the moment will not be able to restrict access to certain routes on its own. Indeed, we will also have to specify the routes concerned by this restriction. As we mentioned, we will restrict access to routes that concern creation, modification and deletion.
Restricting access to routes
As for a classic Symfony application, we will use the IsGranded annotation which allows us to restrict access to a route according to the user's role. In our case, we use the IS_AUTHENTICATED role which only allows us to check that the user is authenticated.
So, to restrict the routes concerned, we will add the following annotation before each method associated to a route. As a reminder, we will restrict access to the routes DELETE, POST, PATCH and PUT.
use Symfony\Component\Security\Http\Attribute\IsGranted;

#[IsGranted("IS_AUTHENTICATED")]
src/Controller/TodoController.php
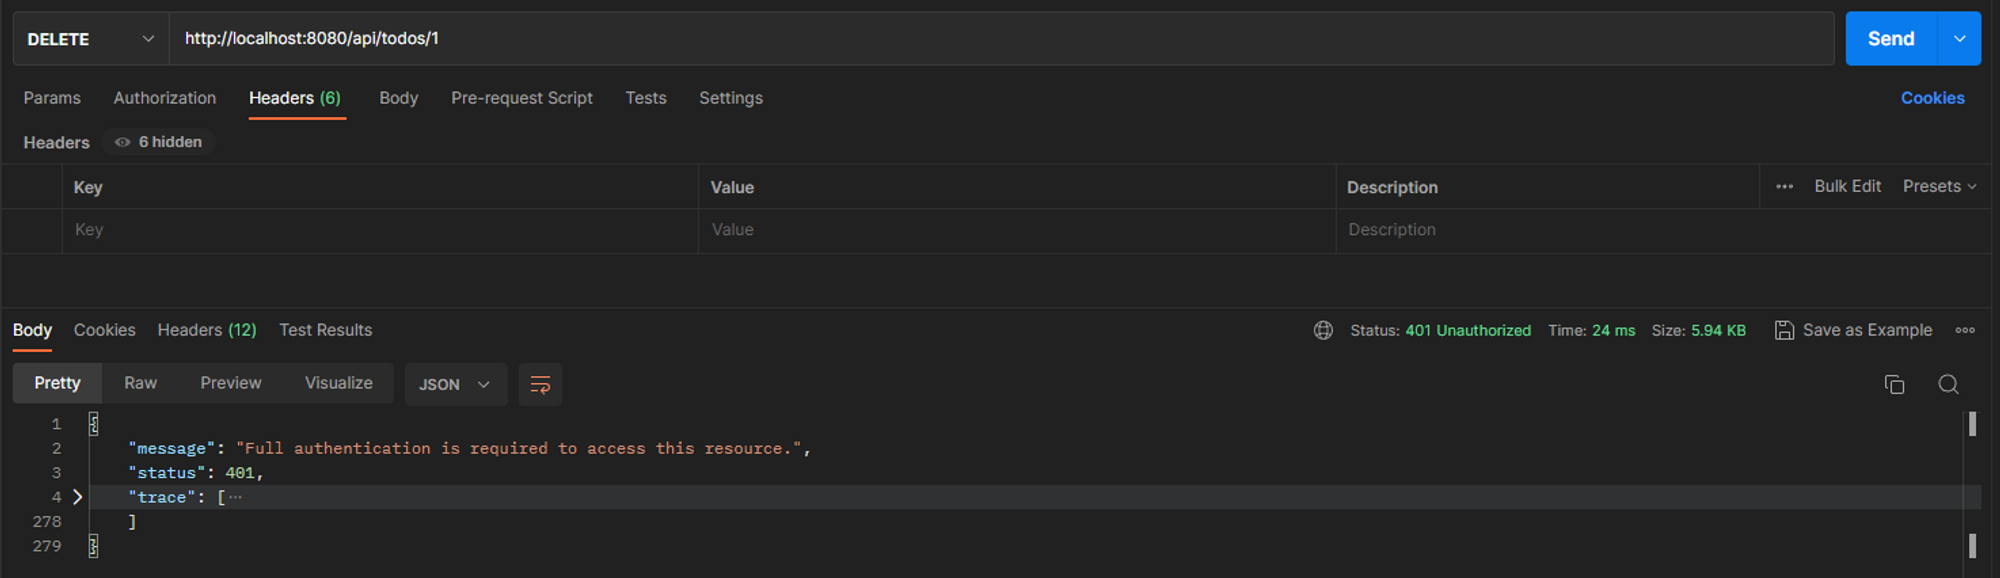
This way, if a user tries to use a protected route without filling in the X-AUTH-TOKEN header, a 401 Unauthorized error is returned.
Now, if we try to use the api/todos/1 route with the DELETE method without specifying a token, we should get a 401 error.
On the other hand, if we try this same route with the authentication header, the request should work.
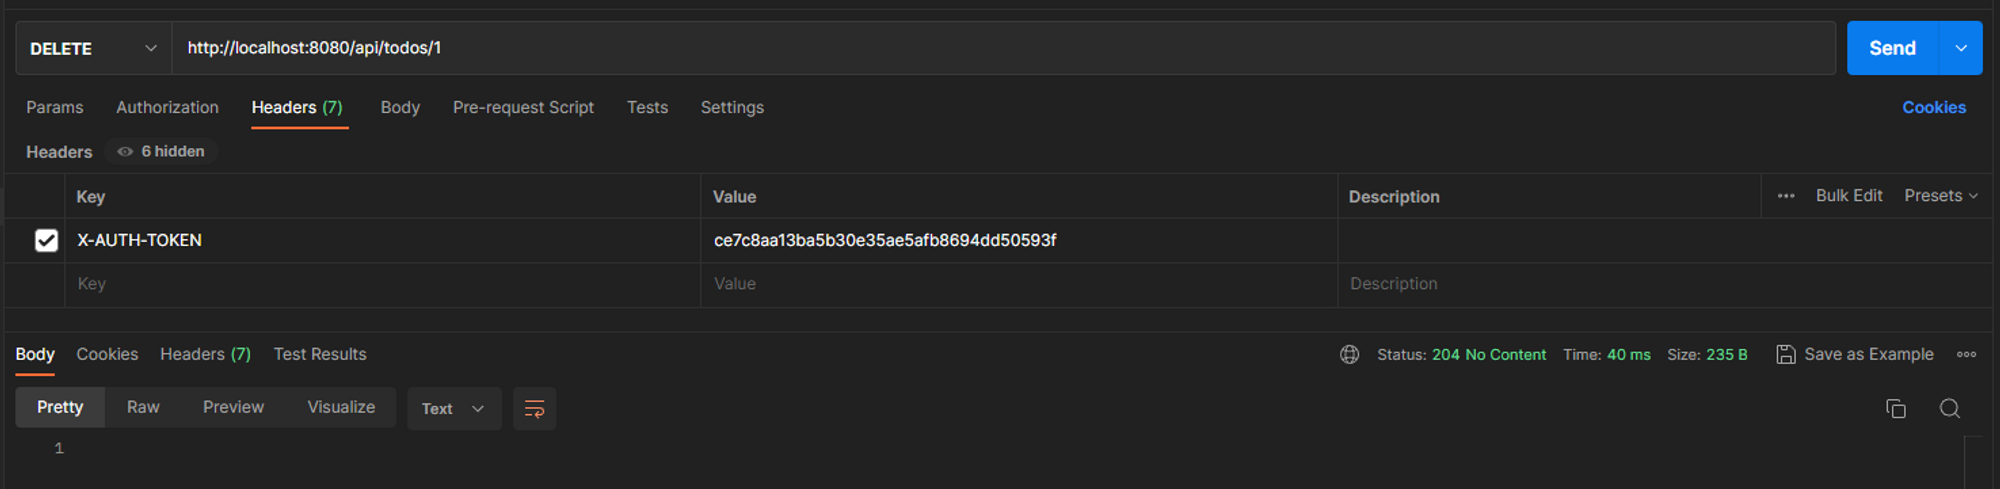
The value we need to fill in in the X-AUTH-TOKEN header must match the token column of one of the users in the user table in the database.
It's great.
We have now succeeded in making some roads safe. Of course, this is only an example, we could go much further. If you are interested in this topic, I suggest you to have a look at the Symfony Voters documentation. This component allows you to bring more details about route restrictions.
In summary
In this lesson, we have seen some very important notions to secure a Symfony api. We have seen what an authenticator is, how to create one and how to use it. Also, we discovered how to apply restricted access to some routes.
Finally, we saw how to create the most important class in a Symfony application: the User class. Indeed, this class can't be created like the other entities.
In the next lesson, we'll discover how to test an api thanks to functional and unit tests that can be done with PHPUnit and Symfony.


